Everyone has the odd bad print or failure that results in something interesting or frustrating depending on how urgently you needed the part to print.
Here are some of my failures and tips on how to avoid them and lessons learnt. (And if you can help me explain what happened last weekend to one of my PLA filament rolls I would be most interested - see at the end).
It may sound odd, but it's really essential that you
fail when doing 3D printing, It tells you so much about your machine, the
boundaries you can operate in and how
good or
bad things can be. If all you do is print with safe settings or never play with the electronics or firmware the you are missing so much of this wonderful project.
You also can't just be told what settings to use and how fast to run etc. you need to feel how your particular machine works and what it's capable of. So experiment, and when you think you have the perfect settings, turn down the extruder temperature until your filament drive fails, that's then a good reference point.
Also increase print speed until your hot-end can't keep up even with a few tens of degrees C hotter than you think you should be running, that's another good reference point.
Below are a few of my print failures during the summer, and some reasons for the failure where I know what happened.
My most common form of failure with ABS is the hobbed bolt filament transport getting jammed up.
Usually there are two reasons for this -
If you print too fast for your hot-end to keep up melting the plastic then usually after the first slower layer layer it will start to jam and grind the filament in the hobbed bolt teeth, then you need to clean it all out.
I have also observed hobbed bolt jamming from using too much extruder reversal when printing lots of small complex parts (a set of many gears for example), the extra too-and-fro on the filament can cause grinding and jamming, but not with all ABS.
I have discovered that some of my ABS needs to be printed at a slower rate to stop this from happening, other ABS I can print faster and I don't get any problems. ABS for me is generally more of a pain to print with.
Pink ABS - This failure was inadequate heating in the hot-end for the speed of solid fill -
Solution for me was to use a
different hot-end design so I could print faster and get better heat transfer into the filament at speed.
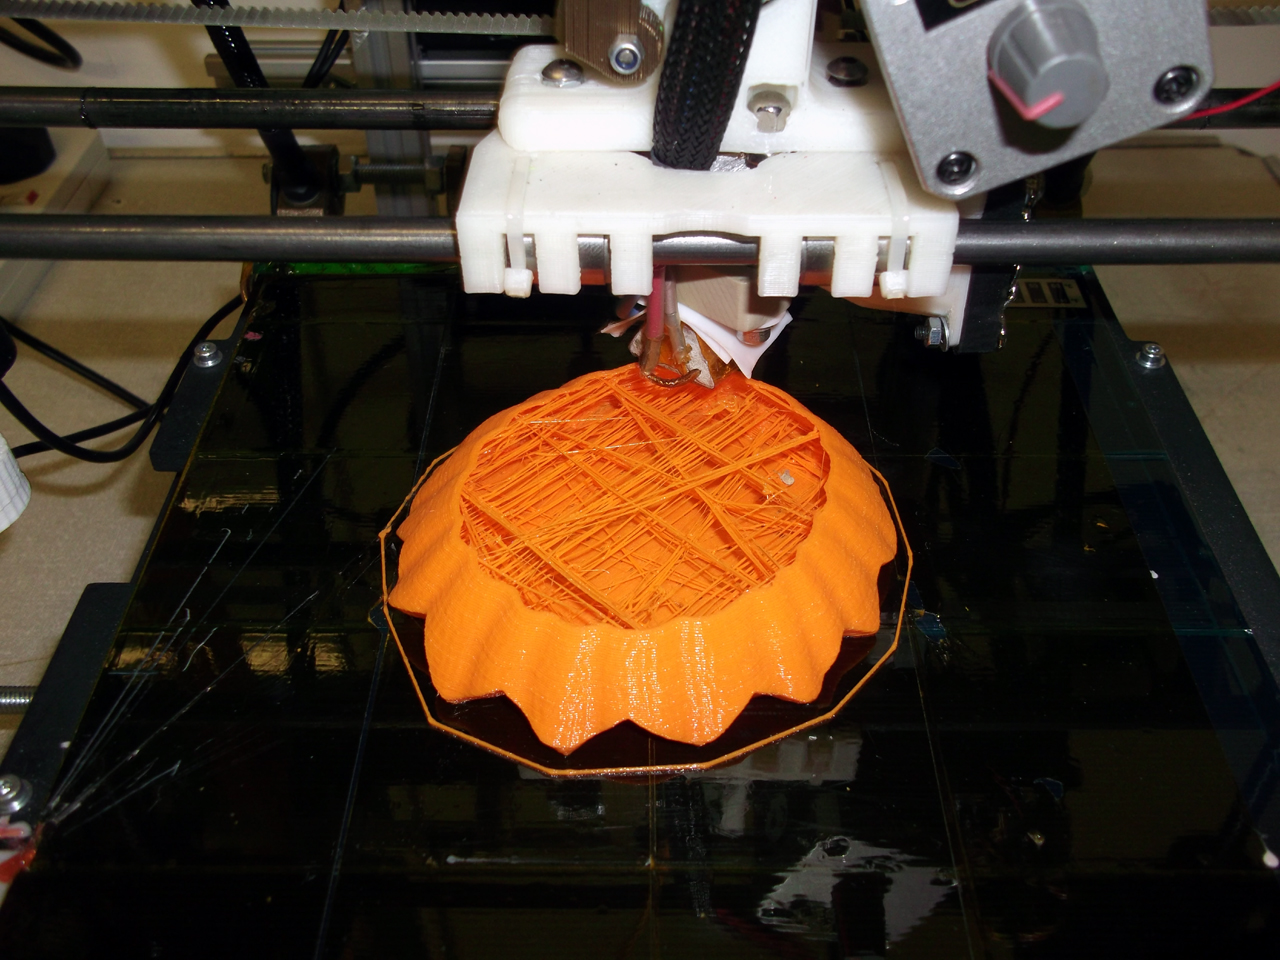
ABS from China Orange - Printing too fast, this part is quite hard to print, it has a very small base to secure it to the heated bed and it's quite small so it prints too-quickly.
On the left it's printed as a shell, (80mm/sec) total disaster, the warp is significant as the layers have no time to cool and they just make a mess, eventually the extruder nozzle will kick the part off the heated bed.
On the right the same part but printed with infill, and 50% slower (40mm/sec), similar problem really, the part was kicked off the bed at this point.
When you print a small object too fast it's odd watching prints that are still mostly molten they bend and move around while more plastic is added, eventually it all ends in failure.
Solution - Print more than one part at a time, or slow down the print quite a lot, my quick solution was to print the part in PLA, it printed fine at 80mm/sec.
A few things are wrong with this print, but other than the temperature being wrong the main issue was the Y motor had not enough drive current, Solution - Increase motor current on your stepper drive.
I have yet to have a hobbed-bolt failure with Makerbot ABS, only machine failures have caused prints to fail other ABS plastic seems to have very different properties to deal with.
PLA - I love this print - A more extreme version of under current motors, the red lines on the print show where i was playing with the motor current on the steppers, at the bottom the Y motor current is low causing slip every few layers, I then turned it down and you see a regular slip every layer change, I then turned it up to the correct setting and the top printed ok. I let this print finish just for the fun of it,
And it's also an awesome demonstration of overhang! Who needs support material.
This one is the opposite problem, the X motor current is too high also causing part sheer but this is due to the stepper driver overheating and shutting down. If you can identify this is happening, you may need to use a fan on your stepper drives depending on your mechanical make-up and motor type or you may be able to reduce your motor drive current a little.
Parts that are not anchored down really well can pop-off of the print bed, causing havoc and destruction everywhere they get pushed around by your hot-end.
This extruder gear came loose and slid itself into a bigger gear and the print continued for quite a few more layers before I spotted it.
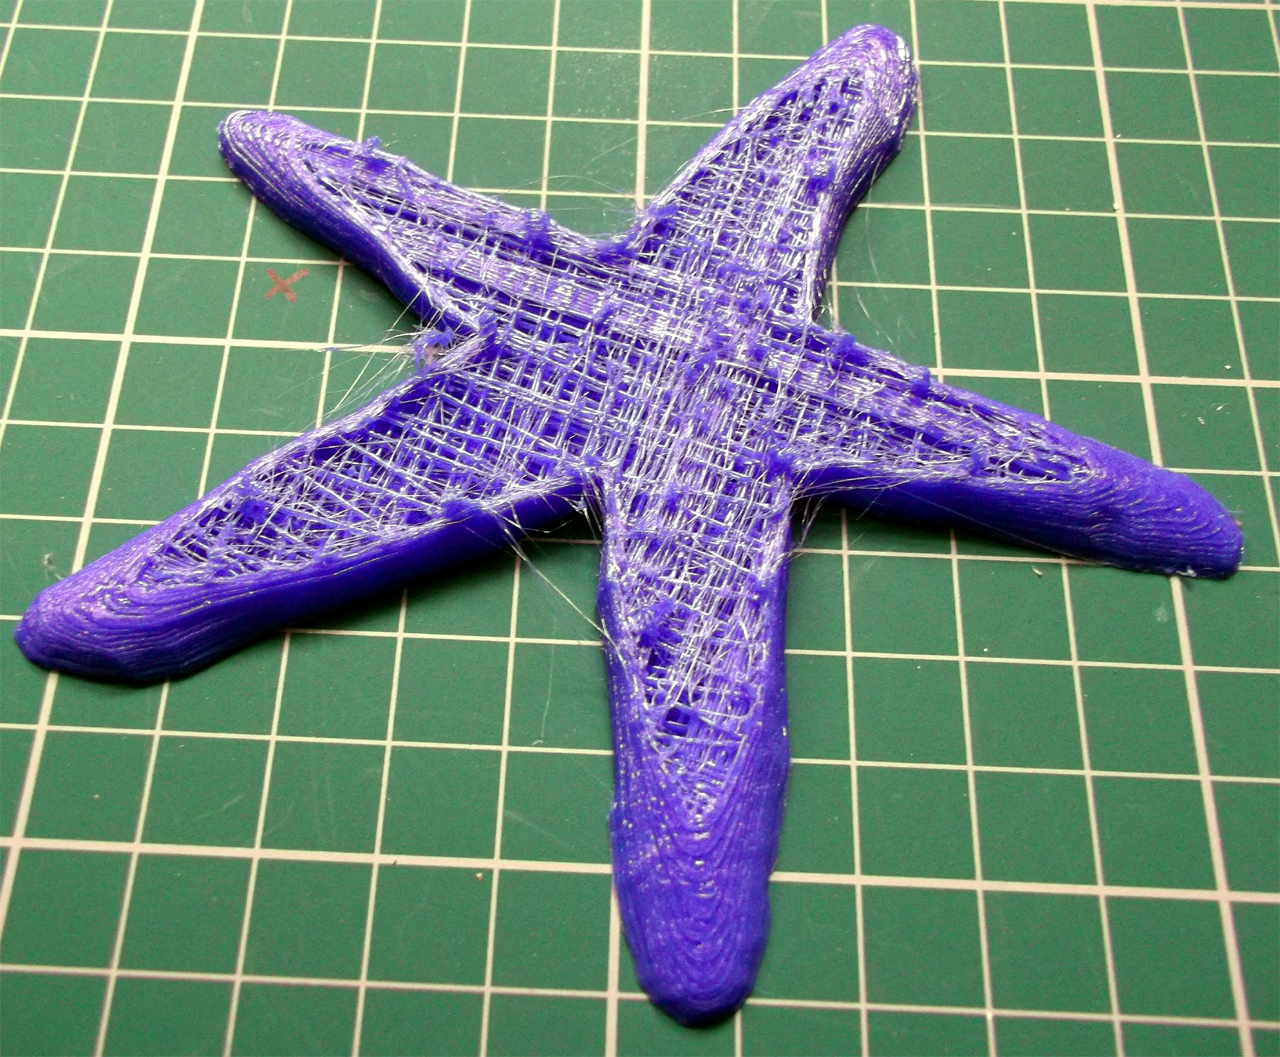
PLA Starfish, This was my fault, It just ran out of filament during the build! poor starfish.
The other thing you get in 3D printing is lots of bits and outlines, this was less than one month of evening printing.
If only we could recycle it.... one day.
Temperature -
Temperature of your hot-end is very linked to extrusion speed and also print quality.
If you print at about 30mm/sec then a lower temperature of anything between 165 to 190 Degrees C is usually fine but as you increase temperature or speed (or both) things start to get interesting.
In this picture you can see the effect of temperature on translucent PLA at a fixed print speed.
The heated bed was 65 degrees C and the print speed is 60mm/Sec.
I started off at 205 Degrees C then increased to 215, at these temperatures the PLA starts to produce loads of tiny bubbles and gives the print a matt and frosted effect. Back to 195 and the PLA looks as you would expect.
Bonus points if you can guess what model this is (check out the reflection).
It's possible to produce nice effects on your models by altering print temperature.
Opaque PLA tends to go slightly matt at higher temperatures and low-to-normal speeds, I don't see evidence of bubbles, but it's hard to tell exactly what's happening.
When I print at over 120mm/sec I need to have Opaque PLA at +225 Degrees C, and translucent at +215 Deg C, at this speed and temperature you do not see the matt/frosted effect in the finished object, I guess that's just down to the limited time the Plastic spends in the heated chamber unless anyone can give a better explanation?
And talking of PLA and temperature - Last weekend I had a roll of PLA shatter on me!
This was one of the last rolls of China sourced 3mm PLA and it's about 4 months old, I keep them in plastic boxes and I have Makerbot Black PLA and Ultimachine White PLA rolls that are much more tightly wound than this PLA from China and they are also in the same sort of boxes, I also had Red and Yellow Chinese PLA from the same manufacturer stored in a similar way and that's still just fine.
All my other Plastic is stored in plastic bags and cardboard boxes all the time.
Now, here in the UK we have experienced quite hot/cold weather changes for October, so I'm putting it down to that, but I still don't really understand why it happened just to this roll. Over a period of many hours I could hear the PLA 'ping' and shatter into lots of smaller pieces, very odd. It seems to have settled down and some parts of the coil are fine, even the centre section that was more tightly wound?
Hot-end Jamming -
My only other odd failure was the jamming of hardened filament at the hot-end, this seems happen after many months of printing due to build-up of solid materials, probably because I tend to run PLA hotter and faster than 'normal' which leads me to my top-tip I'm still investigating -
Top Tip - I would be interested if anyone else has spotted this - If you start to see very, very fine 'hairs' of plastic on your printed parts for no real reason you can think of, this may be a sign that your hot-end is about fail, from build-up of hard material. I have spotted this on the last two times my hot-end needed cleaning, it will need disassembling and maybe drilling and cleaning out, after that it will be back to normal and work for many more months. as long as the PTFE sleeve or barrier has not degraded, then it will fail again quite quickly - keep an eye out for the 'hairs'
Some questions for you -
What's your best failure or most spectacular!
Any tips for testing the boundaries of your machine and 3D printing, please comment below -
Anyone done any 'Art' with failed prints?
Thanks for reading and go make something fail, you will learn loads!
Rich.