They got harder to print/slice and more complex each day - On the last day I designed my own thing, see part 2 for that.
And of course, I learned a few new techniques and tricks along the way, I'll share with you here -

Sing along with me - On the first print of Thing-A-Day my RepRap gave to me...
Mr Alligator and a Fractal Tree :)


Alligator by mraiser
Fractal Tree 2 by tc_fea
On the second print of Thing-A-Day my RepRap gave to me...
A Turtle and a 'Dove' tail joint.


Triangular Dovetail Joint by VeryWetPaint
OK, that's enough of that song... It's not Christmas just yet. Below are on my 'all-time want to print at some-point' list, which is growing every day...
My general goal was to try a few things that have been on my list for a while and also some things that no one else seemed to have tried to print, or at least prints with little evidence of success.
So an easy start -
A nice Pink Gekko by guru was first up -


this was 100% infill just using multiple shells, it produces a nice heavy pot.
The next object was slightly obscure, but I wanted to print it simply because of the first comment made by Raster on the thingiverse page here


From the cow I wanted to try something that looked difficult and as per the cow I wondered if it could be sliced in half to print more easily -


This shows how the low polygon count in the STL model translates to the printed object.
From printing the Stegosaurus he led me to chop off the head of a very fine Venetian Lion Here as another test in printing something that people only printed with support.


He is hollow and was also 70% filled with Hama beads.

At some point around here I started filling my other hollow objects with things,

 The Banana Slug (High Res) by scanlime is a fine example of a nice model and a perfect thing to print hollow.


He has a shiny gold underside.


My version is 2 x the size and is filled with Hama beads to give him a nice rattle.
And a version of the great Yoda lite model by faberdasher.


I also filled them with various objects and experimented with temperature for a number of reasons.

Brain Slug by 7777773 was next

My version is hollow again and was a test of colour filament mixing but I also realised at this point that active gentle cooling of the extruded PLA was essential for a good looking organic (or hollow) prints, so I setup a small cooling fan to blow across the build area after the first layer had been put down, this gives much better results as you can see with some of the other items below, I now always use this fan to blow across PLA whenever I'm printing with it. I have yet to find a situation where it has not improved print quality.
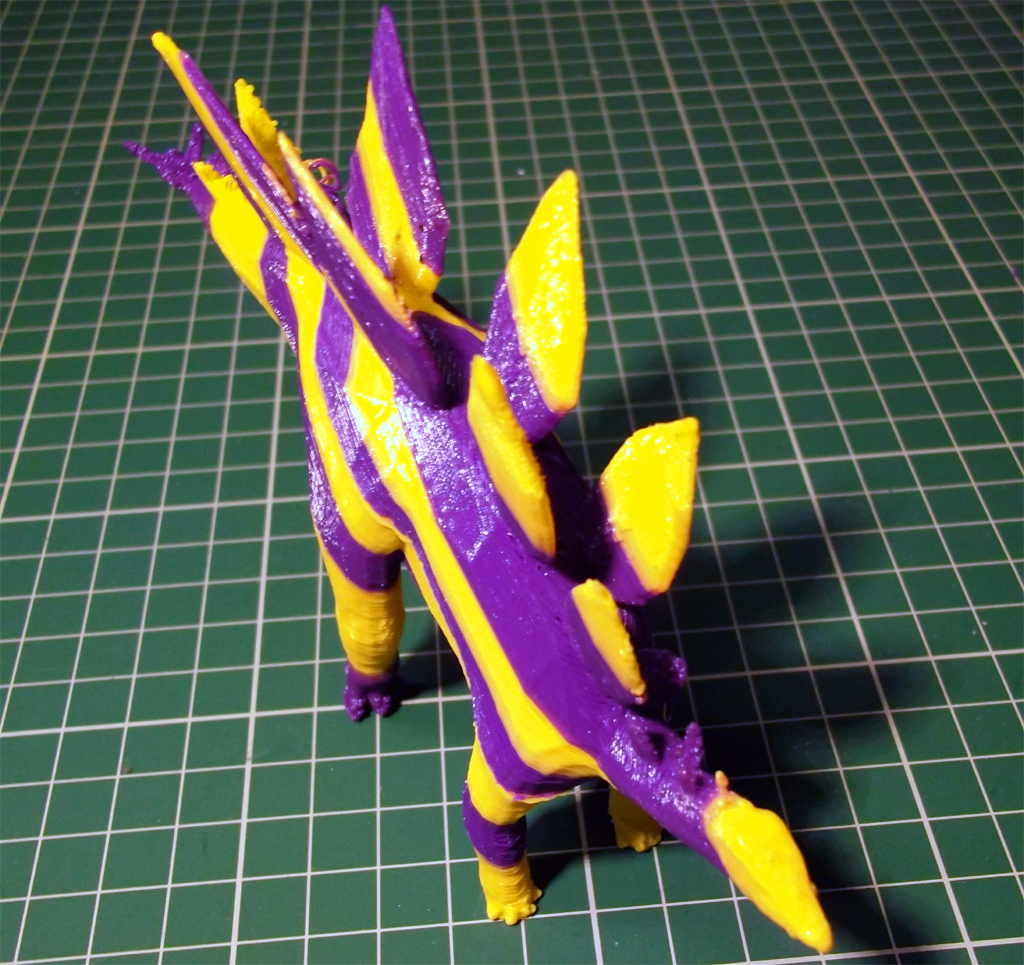
I wanted to print something that could be hollow and also needed to be sliced, so my nest subject was the most excellent model of Roal The Bratty Dragon Prototype by SplotchyInk


As an experiment one side was printed with 0% infill and this side shown above was just 5% infill - I had some minor holes using 0%, you can't avoid this on some objects when done hollow, so a low % of infill usually rectifies the issue.


This shows what usually happens to objects like this when you try to print them hollow or with low % of infill
A smaller layer slice height can help, but some infill is almost essential for parts like this. Remember a severe 'overhang' is the same problem if it's going into an object or out of an object.
And a short video of some of the objects, view it Here in Hi-Def directly on Youtube, or below
That's part 1, look out for Part 2 shortly, it'll have some interesting prints, objects and effects.
Thanks for looking, and do try an external fan, you'll be impressed how much better it can make objects print.
Rich.
This comment has been removed by the author.
ReplyDeleteI believe increasing your solid surface layer count in "Fill" will also make it easier to print shallow domes.
ReplyDeleteLove the cow! :)
ReplyDeleteHi Sublime - I'll experiment, the dragon tummy was done with 3 final layers and two shells, I'm not exactly sure it does the final layers on the tummy as it's always a dome upto the top. I'm sure extra layers do help with other organic objects that have more varying contours.
ReplyDeleteHi Raster, the cow model is Awesome, especially when it's printing the udders and legs stuck up in the air, makes me smile.
ReplyDeleteWe just need a whole farmyard now, Nuclear Green and Orange Sheep with blue and red pigs :)